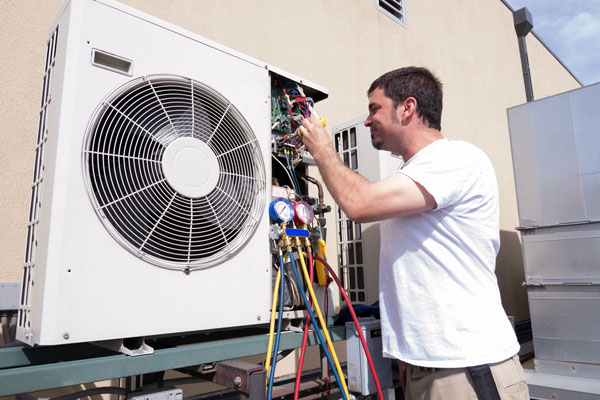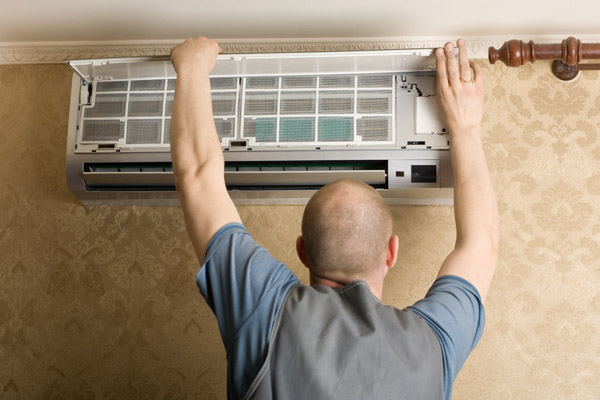
Mini-splits are a popular and energy-efficient choice when it comes to cooling and heating your home or business. The indoor unit and the outdoor unit make up the mini-split. The outdoor unit includes the condenser and the compressor. The indoor unit provides warm or cold air in different zones of the house. However, there are also cables that connect the units which are vital for the system’s performance.
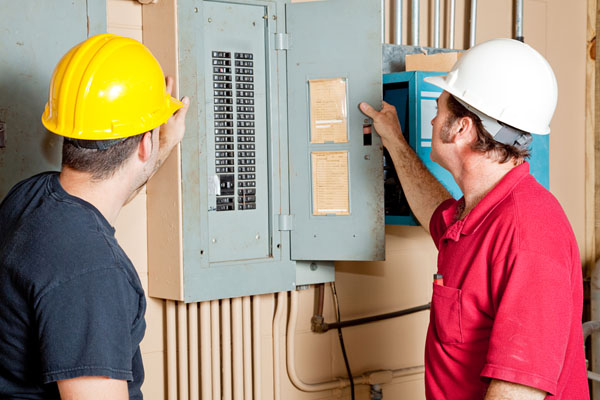
A mini-split is typically easier and quicker to install than central heating and cooling systems. But, they are a bit more complicated than window AC units, which you just need to plugin. Mini-splits require their own electrical line that is connected to the electrical panel in the house.
Contact a ductless HVAC expert if you are considering a mini-split system for your home. A skilled and experienced professional will be able to help you find a system that works well with your heating and cooling requirements. Likewise, they can install it, using the wiring needed, and guarantee that your mini-split will work correctly.
Ductless Heat Pump Wiring: Things You Should Know
Table of Contents
In this article, you’ll learn everything you need to know regarding ductless mini-split wiring to ensure your system works as expected.
Electrical Service

The outdoor unit uses power from the electrical service panel with a disconnect box and a surge protector. These are connected with electrical wires that are protected by a weather-proof wire called a whip.
Depending on the size and model, mini-splits have different power needs. Most of the systems require 220 volts or higher, although some of the 9k to 12k systems may only need a 110-volt service. It’s essential that the breaker panel is sized correctly and can handle extra voltage because these systems are permanently connected in the electrical service panel.
To be sure the system is wired correctly, contact a professional HVAC technician to help you. This is the only way you can make sure your system is up to code and that the warranty remains intact.
Wire Gauges
Mini-split systems require a specific wire gauge. The connecting wire needs to be quality and the right size. If not, it can be hazardous. They should also be UL-listed for sun exposure. UL-listed wires have passed the safety tests of the Underwriters Laboratories. An expert technician can make sure your electrical wiring meets these requirements.
The standard sizes are 2, 6, 8, 10, 14, and 16-gauge wire. The thickness of the wire determines how much current can pass safely through it. Lower wire gauges are thicker and can handle more current. A higher wire gauge is thinner and can handle less current. For example, a #14 wire can handle 15 amps and a #6 cable can run 60 amps.
Connecting Cable

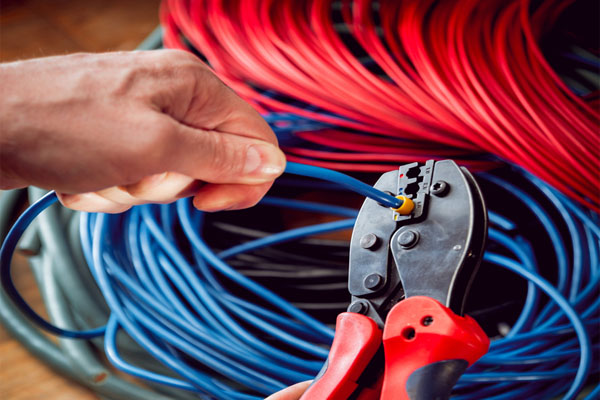
A connecting cable, also known as a four-conductor cable, is a wire that goes between the outdoor and indoor units. It carries information and supplies power between these two parts of the mini-split. Typically, systems use a 14 AWG 4-conductor stranded cable. It is also commonly run through a conduit to abide by local codes.
Disconnect Box: Non-Fused Versus Fused
A disconnect box, also known as a fuse or switch box, has the controls to supply the energy to your mini-split. An HVAC professional can turn off the power to your mini-split system when they are repairing or performing maintenance on it. It is mandated to install one near the condenser.
Most homeowners commonly prefer a non-fused disconnect box rather than a fused box. The breaker in the service panel has the protection a fuse would provide. Homeowners can reset circuit breakers themselves, but a fuse has to be replaced. Fuses can be hard to find and replace by yourself. Fuses can also be damaged by the elements and make the system unsafe.
Electrical Whip
The electrical whip can be found outdoors. It is made up of high-voltage wires that are hidden in a case to protect it from the rain, sun, and other elements. They are primarily used to connect the 120v/220v power from the disconnect box to the condenser.
How An HVAC Contractor Wires A Ductless Mini-Split

Next, we need to find out how mini-split systems are wired. Installing a mini-split can be quite challenging. It is recommended that you hire a licensed HVAC contractor to install the system. If you attempt it yourself, you might harm the unit or even yourself.
The steps below are how a professional will go about installing a mini-split.
Step 1: Install A Disconnect Box
To comply with the code, it is required to install a disconnect box. A professional will run a 230/208-volt or 155-volt line from the house’s primary break box to where the disconnect box will be installed typically next to your unit. An expert technician will be able to make sure the required voltage is met.
The two hot leads are wired together to the fused connections in the box. Then, the faceplate and on/off switch will be attached.
Step 2: Attach The Electrical Wire Whip
A technician can run an electrical whip from the disconnect box to the unit. An electrical whip is an outdoor grade wire that meets the code while keeping the process easy.
Step 3: Connect The Ductless Wires
Next, the electrical wires will be connected to your mini-split according to your unit’s specifications. The exact specifications of the connection will depend on the model of the mini-split. A professional technician has the knowledge and experience to connect the electrical wires properly.
Step 4: Connect The Wires From The Indoor Unit To The Outdoor Unit
The number of connections you have determines if you have a single-zone or a multi-zone unit. A multi-zone unit is numbered by a professional for cross-referencing to make it easier to connect the wire colors with their number. They will also ensure each indoor unit in a multi-zone system is connected to the correct input of the required line set. This is important because your mini-split will not function correctly if this is not properly executed.
Step 5: Connect The Wires In The Indoor Air Handling Unit
Similar to the outdoor unit, the indoor unit’s connections need to be made in the right order. The ground wire and the three main wires need to be connected to the proper terminals. Some units require round crimp-style terminals to make the connection more secure. A professional will know if this is necessary for your installation.
The electrical part of the installation is completed once all the above steps are finished. Contact a trusted HVAC professional if you have any questions or concerns about the electrical wiring of your mini-split system.
Protecting Your Ductless HVAC System Investment
All HVAC systems are considerably expensive. Although manufacturers offer warranties to cover any unfortunate circumstances, they may not protect damages done by electrical surges.
Surges can occur from a lightning strike or a power surge. A surge or an irregularity in the power supply damage the electrical components of your mini-split system or possibly a complete system failure. This could happen even if your mini-split system is just a couple of years old.
Install a surge protector to avoid these damages. They are easy and quick to install, and a licensed HVAC technician one in just over 10 minutes. Installing a surge protector is simple and it will protect your system.
Conclusion
Contact a licensed and knowledgeable professional for an easy mini-split installation. They have the experience and training to make sure it is wired properly. Rest easy knowing your mini-split will work effectively and at its optimal efficiency.
Check Out One Of Our Ductless Installation Projects
Case Study: Clark Mitsubishi Ductless Installation In Sewaren NJ
Call Skylands Energy Service To Learn More About Ductless HVAC Systems
 A ductless system will provide you with low energy costs, increased home comfort, healthy indoor air quality, and safety. If you are ready to switch to a ductless system or have more questions, call Skylands Energy Service right away. Our NATE-certified technicians will discuss your needs and requirements to help you find the best ductless HVAC system setup for your home. We offer a range of heating and cooling services, including installations, repairs, replacements maintenance, and more. We also provide free in-home estimates. Call Skylands Energy Service today.
Contact us now at (908) 707-1776 to find out more!

